Github博客搭建指南(JEKYLL框架)
这篇文章将介绍如何用JEKYLL框架搭建github博客。国内关于jekyll的文章比较少,大多数都是基于hexo搭建博客的。然而github官方推荐jekyll,所以我就用它了。折腾几天,终于学会了,这里面坑有点多,页面美化也有点麻烦。下面详细的介绍下搭建的步骤和过程。
自从github Page功能推出以来, 很多人都在github上搭建博客。确实,github Page的优点非常多,比如无限流量、免费服务器、一键上传部署等等。 github Pages可以被认为是用户编写的、托管在github上的静态网页,我们可以把团队、项目、个人网页上传到github,别人访问非常方便。
前提条件
- 有github账号
- 会 Git 和 Linux
- 会 docker (JEKYLL依赖项有点多,所以推荐用docker)
github Page 介绍 https://pages.github.com/
JEKYLL 介绍 https://jekyllrb.com/
jekyll镜像地址 https://github.com/envygeeks/jekyll-docker/blob/master/README.md
开始
注意,下面都是在Linux环境中操作的
创建仓库
这一步参考 https://pages.github.com/ ,创建含有hello world的index.html。
- 在github上创建一个仓库,名称是“你的Github账号名.github.io”
- 编辑内容,仓库上传之后,网页也会随之更新,最后看到hello页面
安装jekyll
现在的页面太简单了,没有帖子、没有图片,距离博客还差得远。我们要使用jekyll框架来生成静态网页,提供丰富多样的页面效果。
jekyll是一个基于ruby开发的,专用于构建静态网站的程序。它能够将一些动态的组件:模板、liquid代码等构建成静态的页面集合,Github-Page全面引入jekyll作为其构建引擎,这也是学习jekyll的主要动力。同时,除了jekyll引擎本身,它还提供一整套功能,比如web server。我们用jekyll –server启动本地调试就是此项功能。读者可能已经发现,在启动server后,之前我们的项目目录下会多出一个_site目录。jekyll默认将转化的静态页面保存在_site目录下,并以某种方式组织。使用jekyll构建博客是十分适合的,因为其内建的对象就是专门为blog而生的,在后面的逐步介绍中读者会体会到这一点。但是需要强调的是,jekyll并不是博客软件,跟workpress之类的完全两码事,它仅仅是个一次性的模板解析引擎,它不能像动态服务端脚本那样处理请求。
摘录 https://www.ezlippi.com/blog/2015/03/github-pages-blog.html
因为安装jekyll比较麻烦,所以我用docker创建一个jekyll容器,但还需要在容器内部安装一些插件。
进入博客仓库 cd ~/jiangzc.github.io
创建jekyll容器
1
2
3
4
5
6
7
8
9
10
11
# 进入了吗
$ pwd
/home/jzc/Programs/jiangzc.github.io

# 容器名为jekyll
# 当前目录映射到容器内部的/srv/jekyll
# 端口映射4000:4000, 进入bash
docker run --name jekyll \
  --volume="$PWD:/srv/jekyll"  \
  -p 4000:4000	 \
  -it jekyll/builder:3.8  bash
替换gem源 gem install 速度非常慢,有时会卡,所以要用清华大学的镜像
参考 https://mirror.tuna.tsinghua.edu.cn/help/rubygems/
1
2
3
4
5
6
7
8
# In container
# 添加 TUNA 源并移除默认源
gem sources --add https://mirrors.tuna.tsinghua.edu.cn/rubygems/ --remove https://rubygems.org/
# 列出已有源
gem sources -l
# 应该只有 TUNA 一个

bash bundle config mirror.https://rubygems.org https://mirrors.tuna.tsinghua.edu.cn/rubygems
容器内部,安装可能用到的插件
1
2
bundle update # 很慢,估计等5分钟....
gem install redcarpet && gem install pygments.rb
接下来测试 jekyll
按照官网的QuickStart部分,从第三步jekyll new myblog开始做,查看页面效果
如果遇到依赖项错误,根据提示安装 Run
bundle installto install missing gems.
如果执行bundle exec jekyll serve有问题 就执行jekyll serve
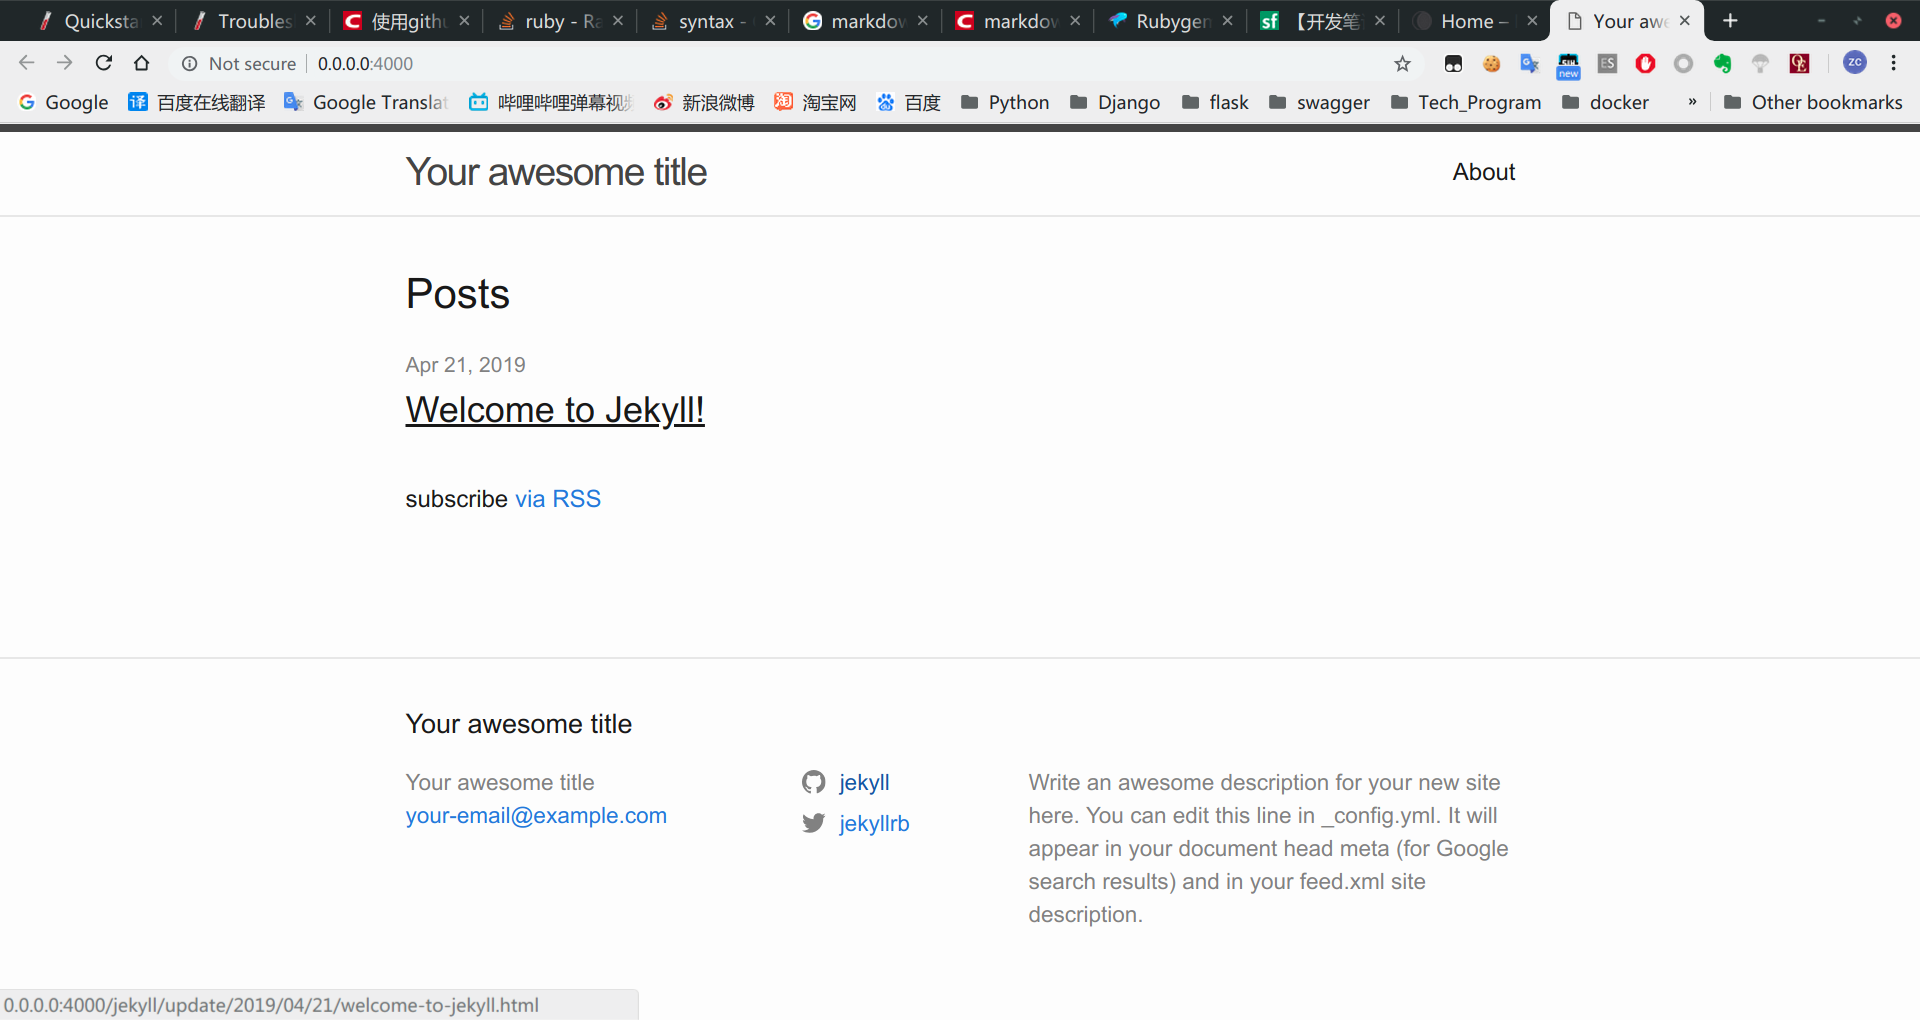
成功,接下来阅读官方文档,从头开始,闭门造车,当然是使用别人配置好的模板适当修改,我们就能做出自己的博客啦。
在网上随便找了一些:
下载模板
接下来以 Moon主题 为例,说明配置方法
项目地址 https://github.com/TaylanTatli/Moon
DEMO https://taylantatli.github.io/Moon/
删除刚才测试的myblog文件夹,回到jiangzc.github.io目录
下载Moon的zip压缩包,解压到你的博客文件夹,目录树像这样
1
2
3
4
5
6
7
8
9
10
11
12
13
14
15
# jzc @ Precision in ~ [14:06:15]
$ tree -dL 1 jiangzc.github.io
jiangzc.github.io
├── about
├── assets
├── _data
├── _includes
├── _layouts
├── myblog
├── posts
├── _posts
├── projects
├── _sass
├── _site
└── tags
在容器里,输入jekyll serve 或 bundle exec jekyll serve, 可能要解决依赖项问题 gem install ...
浏览器访问http://localhost:4000 , 效果如下
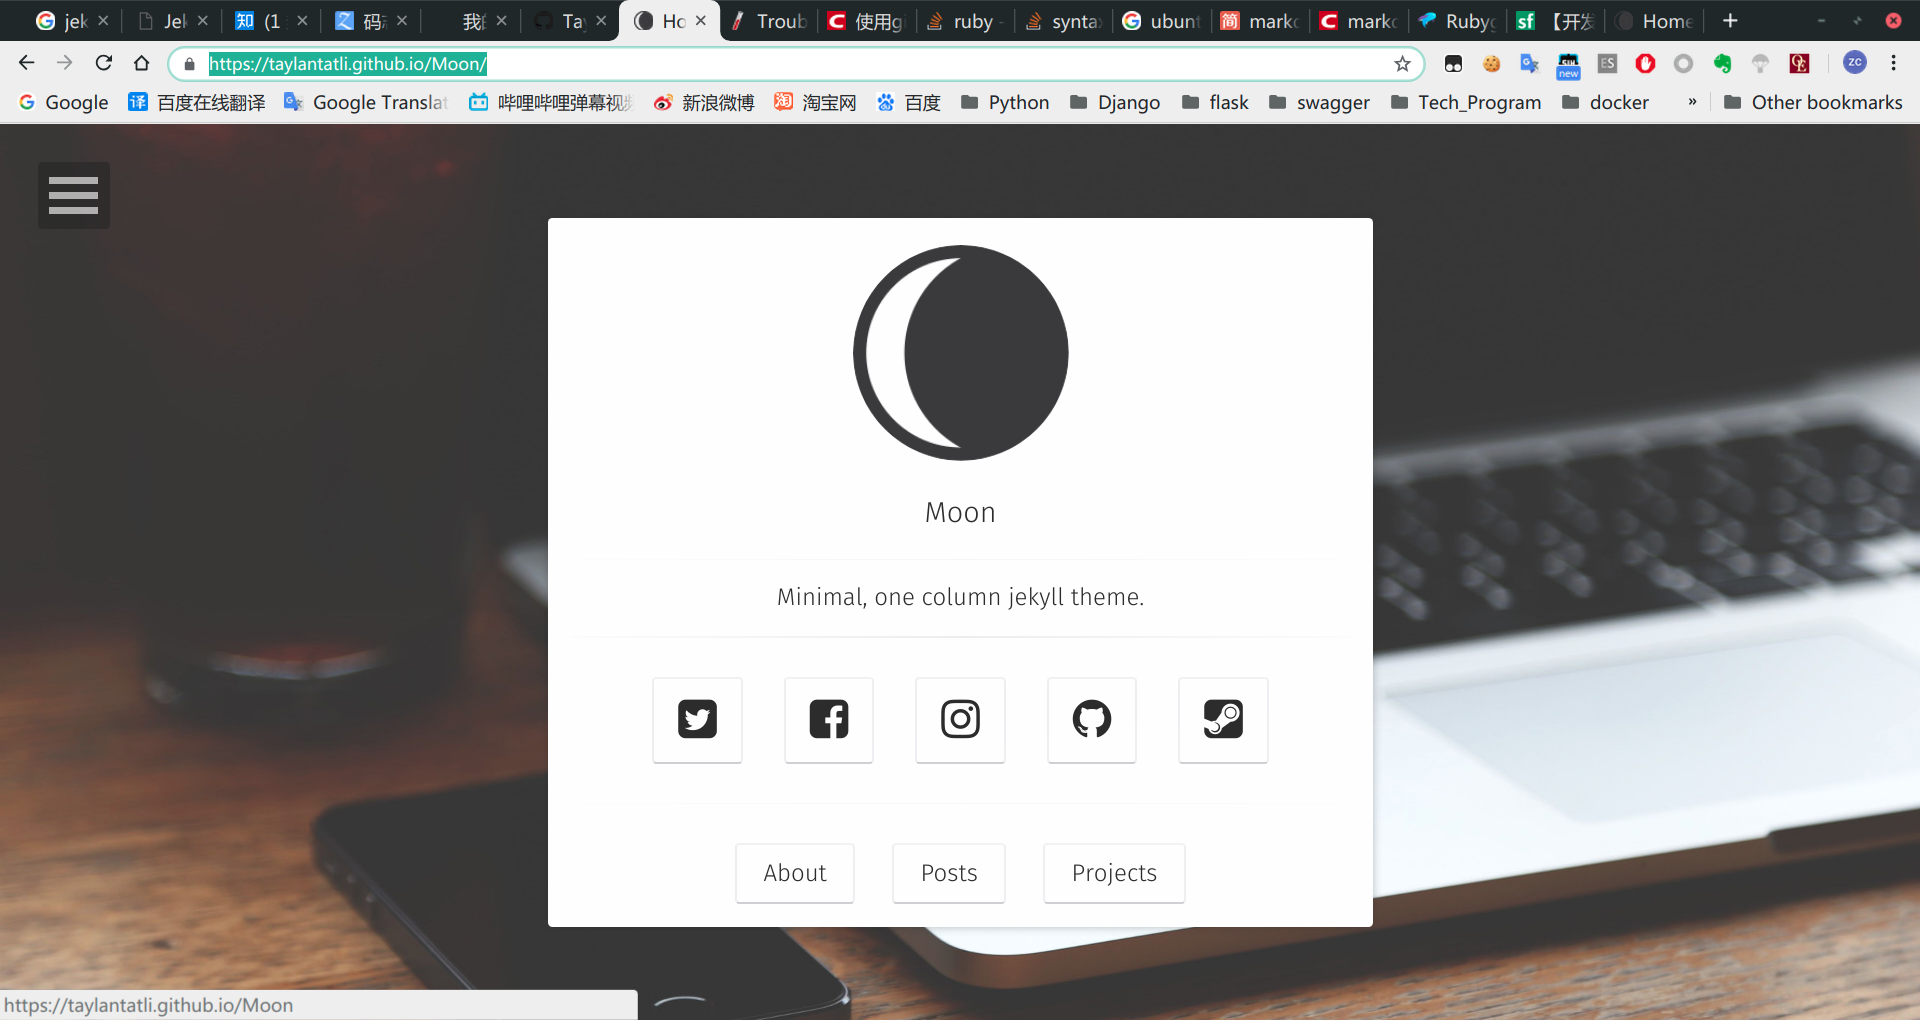
后续配置参考 https://taylantatli.github.io/Moon/moon-theme/
完成后用jekyll serve 或 bundle exec jekyll serve重新生成页面,本地确认后push到github上就可以了。
常用命令参考
停止容器
docker container stop jekyll
开启容器、构建网站
docker container start jekyll && docker exec -it jekyll jekyll build
开启容器、构建网站、启动Web服务
docker container start jekyll && docker exec -it jekyll jekyll serve
开启容器、构建网站、git add and commit、启动Web服务
1
2
3
4
5
6
$ cd ./jiangzc.github.io

$ docker container start jekyll && docker exec -it  jekyll jekyll build && git add --all && \
git commit -m 'new file' && docker exec -it  jekyll jekyll serve

$ git push
相关资料
博客搭建详细教程 很详细,但没有使用jekyll框架,它是基于成品修改的,不够个性化
阮一峰的网络日志 推荐看一下